Essential Equipment for Coin Photography
Lighting: The Secret Ingredient
When it comes to coin photography, lighting is your best friend—or your worst enemy. Coins are shiny little rebels, reflecting light in unpredictable ways, so you’ll need the right setup to tame them. A simple desk lamp might seem like it’ll do the trick, but trust me, you’ll want something more controlled. Consider investing in a lightbox. This compact hero diffuses light evenly and avoids those harsh glares or weird shadows that can ruin a photo faster than you can say “mint condition.” Combine this with soft, adjustable LED lights, and suddenly, every detail on that rare quarter pops like it’s auditioning for a movie poster.
Must-Have Tools to Seal the Deal
You don’t need a suitcase of gadgets to succeed, but a few key items will change the game:
- Camera: A DSLR is ideal, but even a smartphone with high resolution does the job if paired with good lighting.
- Tripod: Your secret weapon for shaky hands. Stability = sharper details.
- Macro lens: Capture the tiniest inscriptions and intricate designs—think dates, mint marks, and ornate patterns.
- Dark background fabric: Make silver and gold coins pop by placing them against black velvet or similarly rich textures.
With these tools, you’re not just taking pictures—you’re creating art.
Setting Up Your Workspace for Optimal Photos

Crafting the Perfect Lighting Environment
Your workspace is the heart of coin photography. The lighting you choose here can truly make or break your photos! Coins, with their intricate designs and reflective surfaces, are notoriously tricky to capture under poor or uneven lighting. Start with a clean desk or table near a window for natural light, but don’t stop there. Natural light can be inconsistent—it’s like trying to predict the mood of a cat!
Instead, invest in a couple of adjustable LED lamps. Place one lamp on each side of the coin at roughly 45-degree angles—this minimizes *those pesky* harsh shadows. If your coins appear too shiny or you notice glaring reflections, use a diffuser, like a piece of white paper or a lightbox. Trust me, it will make all the difference!
- Pro Tip: Avoid overhead lighting unless you want every tiny scratch magnified.
- Experiment with lamp temperatures—warm vs. cool tones can change how the coin looks.
Minimizing Clutter (and Chaos!)
A cluttered workspace leads to distracting backgrounds! Clear away stray papers, coffee mugs, and yesterday’s snack wrappers. Use a neutral backdrop, like a black felt cloth or white poster board, to let your coin shine with no distractions. Remember, it’s all about focusing attention on that tiny, metallic masterpiece.
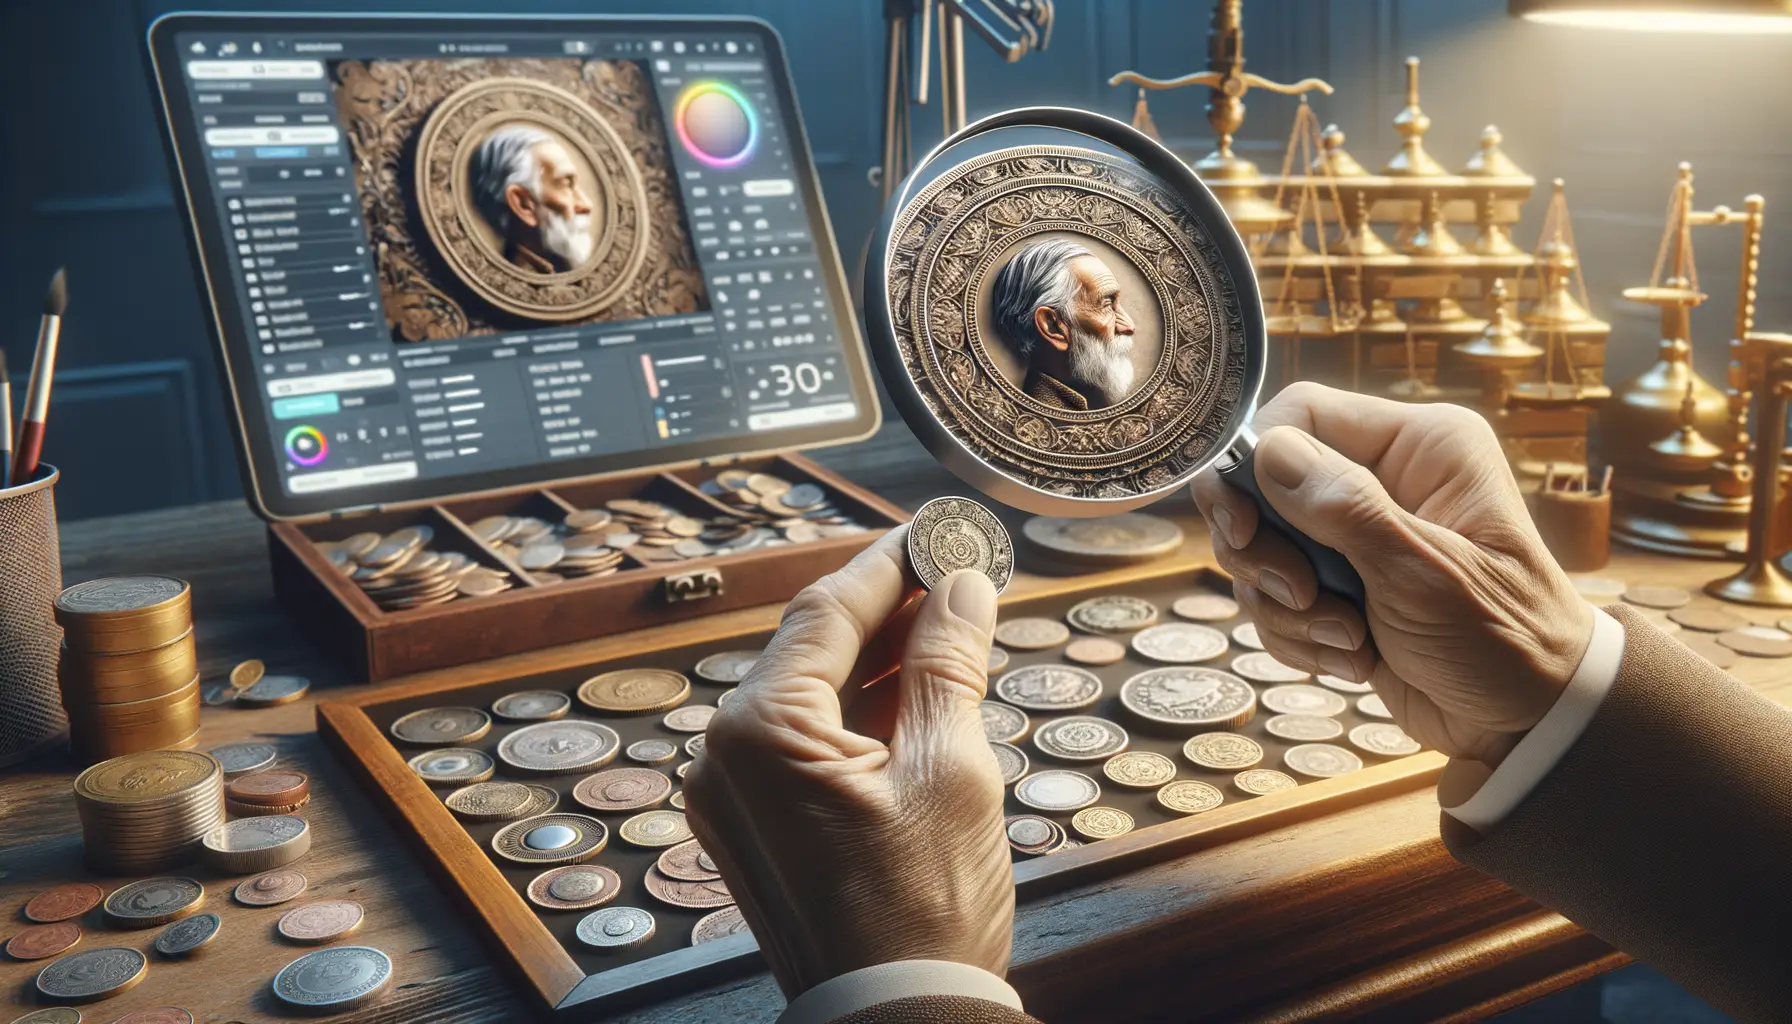
Techniques to Capture Clear and Detailed Coin Images
![]()
Mastering Lighting for Better Coin Photos
Great coin photography starts with nailing the lighting. Coins, with their reflective surfaces and intricate details, demand precision when it comes to illumination. A poorly lit coin can appear dull or overly shadowed, hiding its true beauty—or worse—those tiny mint marks collectors drool over.
Here’s a trick: diffuse your light. A bright desk lamp aimed directly at the coin? Disaster. Instead, position your lamp slightly off-center and soften the harshness by placing a piece of white paper or translucent fabric over the bulb. This spreads out the light beautifully, minimizing glare while bringing out every last ridge and lettering.
Want something even more specific? Try using a lightbox. These magical little setups bathe your coin in soft, even light and eliminate distracting background clutter. Controlled lighting is your best friend—it’ll take those coins from “meh” to magnificent in no time.
- Experiment with angles to highlight depth and texture.
- Avoid natural sunlight—it’s unpredictable and prone to casting harsh shadows.
The Art of Focusing on Fine Details
A sharp focus isn’t just nice; it’s non-negotiable. Buyers want to see every gleaming surface, every tiny numeral on that year stamp. Use your camera’s manual focus feature to carefully refine the image until you can almost feel the coin’s ridges beneath your fingertips.
Try this: set your coin on a sturdy, flat surface and position your camera parallel to it. Avoid handheld shots if possible—handshake is public enemy number one in close-up photography. If your setup allows, use a tripod and a shutter remote. That way, even the tiniest movement won’t ruin your perfect shot.
Pro tip: Pay attention to aperture settings. A larger aperture (smaller f-number) might blur the edges of your coin, while a smaller aperture ensures the entire surface stays crisp. Aim for balance—you want clarity, not over-complication.
Editing and Enhancing Your Coin Photos
Bring Out the Best in Your Coin’s Details
Editing your coin photos is the secret sauce that can elevate them from “nice” to “wow-worthy.” Think of this step as polishing a diamond—you’re not altering its essence, just making it shine brighter. The key goal? Highlighting every intricate detail, from mint marks to those mesmerizing lusters dancing across the surface.
Start by adjusting the white balance. If your coin has a golden hue but looks dull silver in the photo, it’s time for a quick fix. Many free editing tools, like Snapseed or Lightroom Mobile, let you tweak colors subtly until they pop with accuracy. Next, play with brightness and contrast—but tread lightly! Overdoing it can make your coin look artificial and scare off potential buyers.
When cropping, keep the focus on the coin itself. Remove distractions like edges of props or stray background lighting. A clean, centered composition says, “Look at me—I’m worth your attention.”
- Sharpen the image to enhance fine details, especially on worn pieces.
- Remove any dust or small imperfections using a spot-healing tool. These tiny touch-ups make all the difference.
Your goal isn’t perfection—it’s authenticity, beautifully presented.
Common Mistakes and How to Avoid Them
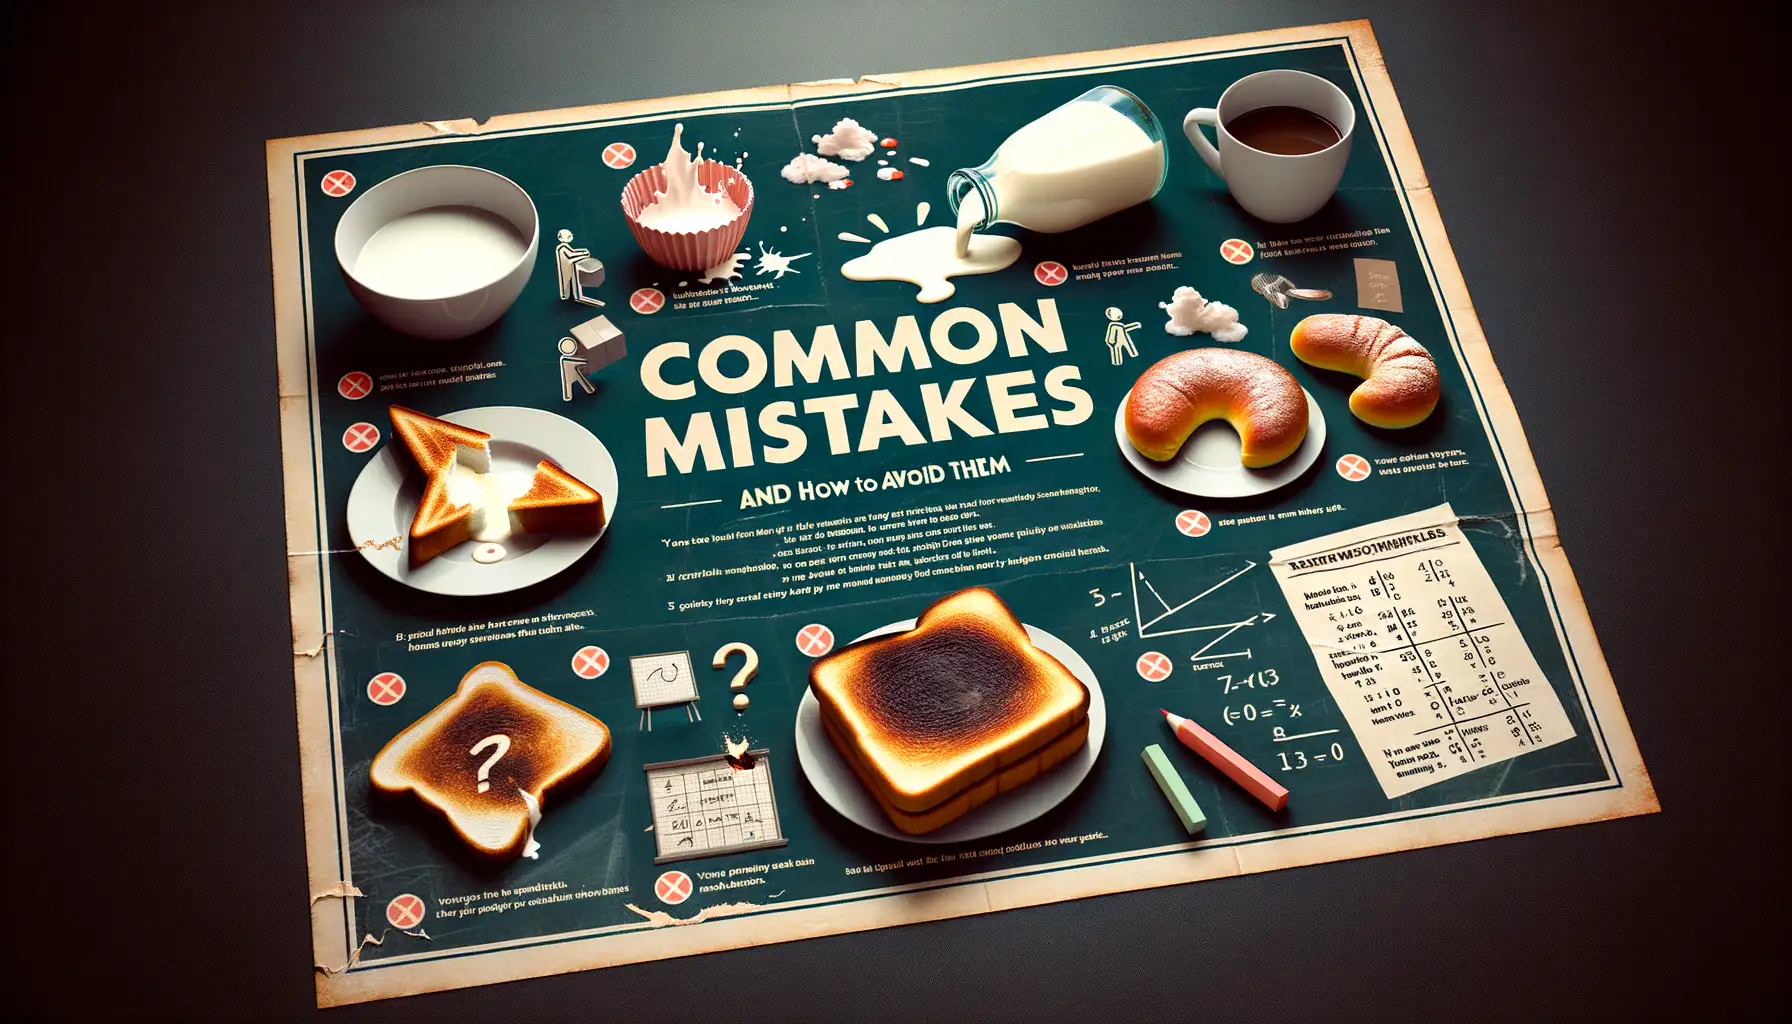
Lighting Pitfalls That Can Ruin Your Shot
Lighting can either be your best ally or your worst enemy when photographing coins. Trust me, I’ve seen perfectly good photos destroyed by poor lighting choices—and it’s heartbreaking when you’re so close!
Here are some common missteps:
- Harsh direct light: This creates bright spots and harsh shadows, making the coin’s surface look uneven or distorted. Instead, use diffused light to gently illuminate its details.
- Uneven light sources: If one side of your coin is brighter than the other, it can create an unbalanced, amateurish look. Solution? Place your light source at a consistent angle, preferably at 10-2 o’clock, like hands on a clock.
- No light modifiers: Skipping reflectors or diffusers means you’re leaving reflections and glare unchecked, which can completely obscure intricate designs.
Avoiding Unintentional Blurriness
Blurry photos—ugh, they’re the silent killers of online sales. Buyers want clarity and accuracy, not mystery. If your shots aren’t sharp as a tack, here’s what might be going wrong:
1. Are you holding your camera instead of mounting it on a tripod? Even the steadiest hands shake ever so slightly. Use a tripod for that rock-solid stability.
2. Did you forget to check your focus? Always double-check if your subject, not the background, is the sharp focal point.
3. Low light paired with no flash likely forces your camera into longer exposure times, making blurriness inevitable. Address this by increasing light or using a remote shutter release to minimize movement.
Fix these hiccups, and your photos will go from frustratingly off to professional-grade!